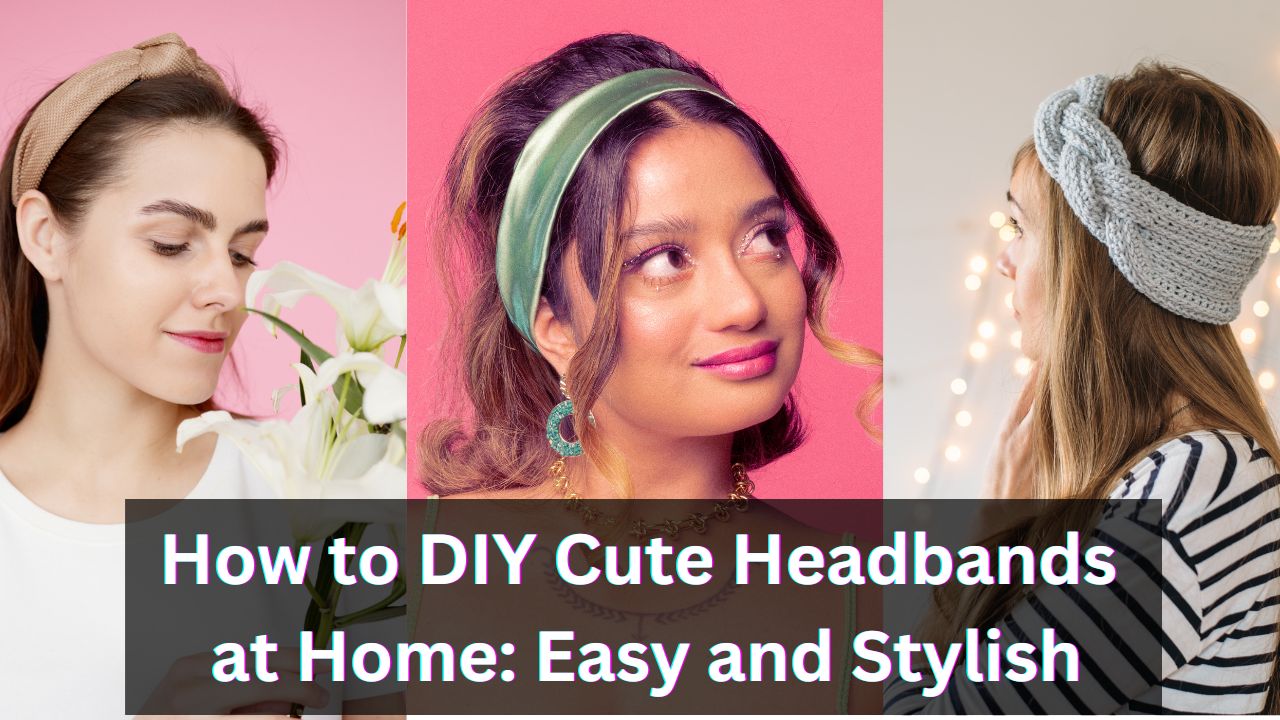
How to DIY Cute Headbands at Home: Easy and Stylish
I. Introduction
Welcome to the world of DIY cute headbands crafting, where creativity knows no bounds! This comprehensive guide invites you on an exploration of the delightful journey to craft adorable headbands within the cozy confines of your home. Whether you’re a seasoned DIY enthusiast or a newcomer venturing into the realm of crafting, these detailed steps aim to make the process enjoyable and rewarding for everyone.
II. Fabric Headbands
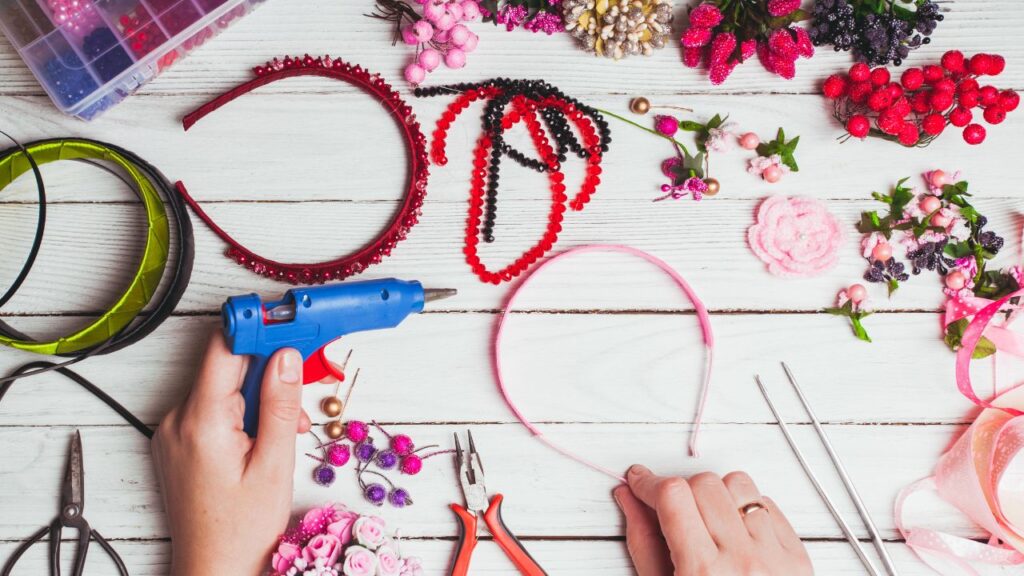
A. What You Need
Begin with the fundamentals. To delve into the realm of fabric headbands, collect the following essentials: fabric, elastic, scissors, a sewing machine or needle and thread, and any extra embellishments that resonate with your style. Having these essentials on hand sets the stage for a successful DIY cute headbands adventure.
B. Instructions
- Cut the Fabric and Elastic
Begin by carefully measuring and cutting your chosen fabric and elastic. Precision here ensures a headband that fits comfortably and looks professionally crafted.
- Fold and Press
The folding technique plays a crucial role in the overall appearance of your headband. Learn the art of folding and pressing to achieve that polished and refined look.
- Stitch the Edges Together
Whether you’re using a sewing machine or opting for hand stitching, follow step-by-step instructions to stitch the edges together securely. This creates the foundation of your fabric headband.
- Press the Headband
After stitching, pressing the headband is essential to maintain its shape and give it a sleek finish. Don’t skip this step for a truly professional touch.
- Press the Ends
Pay special attention to pressing the ends to ensure a neat finish. This step adds a final touch of finesse to your DIY creation.
- Make the Elastic Portion
Learn the intricacies of creating the elastic portion of the headband. Proper sizing is key to comfort and functionality.
- Attach the Elastic
The final step involves securely attaching the elastic to the fabric headband. This not only completes the look but also ensures your headband stays snug and comfortable.
III. Tips and Variations
A. Creative Suggestions for Fabric and Embellishments
Elevate your headband game by exploring various fabrics and embellishments. From floral patterns to polka dots, the possibilities are endless. Let your creativity run wild and choose options that resonate with your style.
B. Alternative Methods and Styles
In the world of DIY, there’s always room for experimentation. Consider alternative methods such as no-sew techniques or explore different DIY cute headband styles like turban headbands or knotted variations. This section encourages you to think outside the box and make the crafting process uniquely yours.
IV. Troubleshooting
A. Common Issues and How to Address Them
Even the most seasoned crafters encounter hiccups. This section identifies common issues like uneven stitching or sizing discrepancies and provides quick, effective solutions to keep your DIY project on track.
B. Tips for Avoiding Mistakes During the DIY Process
Prevention is often the best cure. Discover insightful tips for avoiding common mistakes before they happen. Whether you’re a beginner or an experienced crafter, these preemptive measures can save time and frustration.
V. Inspiration Gallery
A. Showcase of Finished DIY Cute Headbands
Flip through a visual gallery showcasing completed headbands. This not only serves as inspiration but also provides a tangible representation of the possibilities that await you. Marvel at the diverse outcomes and envision your unique creations.
B. Ideas for Customization and Personalization
Your headbands should reflect your personality. Explore ideas for customization, from adding initials to attaching charms. This section encourages you to infuse your creations with a personal touch, making each headband a true expression of your style.
VI. Maintenance and Care
As a proud DIY headband creator, you’ll want to ensure the longevity of your masterpieces. Learn the ropes of proper maintenance and care, including guidelines for washing and storing your handmade accessories. These simple practices will keep your headbands looking fresh and fabulous.
VII. Conclusion
In conclusion, creating your DIY cute headbands at home is a delightful and fulfilling endeavor. It allows you to express your creativity, personalize your accessories, and save money, all while reducing your environmental footprint. As you adorn yourself with the fruits of your labor, remember that every stitch tells a story, and each headband is a testament to your unique style. The joy of crafting extends beyond the finished product—cherish the moments of creativity and self-expression. Whether you’re a crafting novice or a seasoned DIY aficionado, we hope this extensive guide has sparked inspiration and added a touch of homemade charm to your accessory collection. Happy crafting!
FAQs
Q1. How to do DIY cute headband hairstyles?
Creating DIY cute headband hairstyles is a breeze with a few simple steps. Start by choosing a headband that complements your style. For a charming look, position the headband over loose waves or curls. Feel free to explore braids or try a half-up, half-down style, securing the headband for that perfect finishing touch.
Q2. How do you style DIY cute headbands?
Styling cute headbands is all about versatility. Whether you prefer a boho chic vibe or a polished look, there are endless possibilities. For a casual day out, pair a floral headband with a messy bun or opt for a sleek, low ponytail. Headbands can also elevate more formal styles, such as a classic updo or a side-swept hairstyle.
Q3. How do you make no-sew headbands?
Making no-sew headbands is a quick and enjoyable DIY project. Begin by selecting your preferred fabric and measuring it to fit comfortably around your head. Using fabric glue or hot glue, attach the ends to create a loop. Customize your no-sew headband by adding embellishments like bows or buttons.
Q4. How do you make easy DIY Cute headbands?
Crafting easy DIY cute headbands is a fantastic entry point into the world of DIY accessories. Start with a plain headband base, readily available at most craft stores. From there, let your imagination run wild – wrap the headband in colorful fabric, attach bows or flowers, or experiment with different textures. The trick is to maintain simplicity and enjoy the creative journey. Easy headbands serve as not just charming projects for beginners but also as an effortless means to express your style.
Q5. How to do a braid headband?
Creating a braid headband adds a touch of bohemian flair to your hairstyle. Begin by parting your hair to one side. Select a small section near your hairline and divide it into three strands. Begin braiding these strands, incorporating additional hair from the top as you move along your hairline. Continue this process until you reach the opposite side, securing the braid with a bobby pin.


One Comment